

So I have seen these things floating around on my Instagram account and on Pinterest quite a bit. I wanted one so I started looking to see what it would cost. These things are like $200 bucks online and let’s be real, my cash flow for novelty items is on the low to non-existent side. So, I figured I should make one!
I got some inspiration from Pinterest and went to work on my budget friendly version.
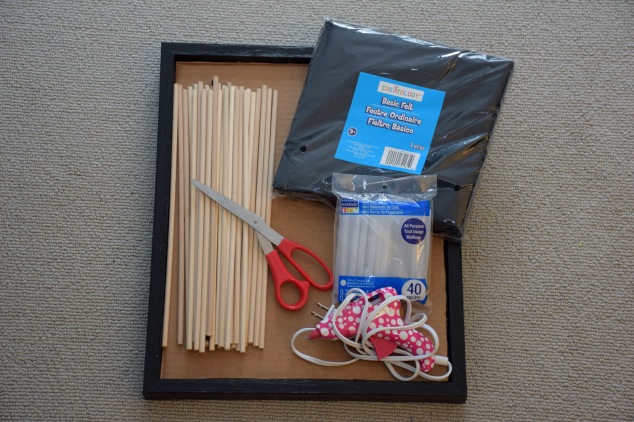
First I bought all of the materials. See below for the list of things you will need to complete this letterboard.
Materials/Tools:
- 1 picture frame (mine was 11×15)
- Black felt
- 1/4″ wooden dowels
- Hot glue gun
- Glue sticks
- Scissors
- Tape measure
- Mitre saw
- Cardboard (I used this for my frame backing)
- Letterboard letters
First thing I did was cut my dowels to size with a mitre box. It’s really easy and pretty user friendly if you dont want to use power tools.
I bought 4′ dowels from Home Depot so I got 3 cuts from each rod. There was some waste, but I had my frame already so it couldn’t be helped. If you want to calculate the cuts or get precut dowels you could avoid any waste and maybe save some $$. I used 14 4′ dowels so it cost me roughly $14 tax included.
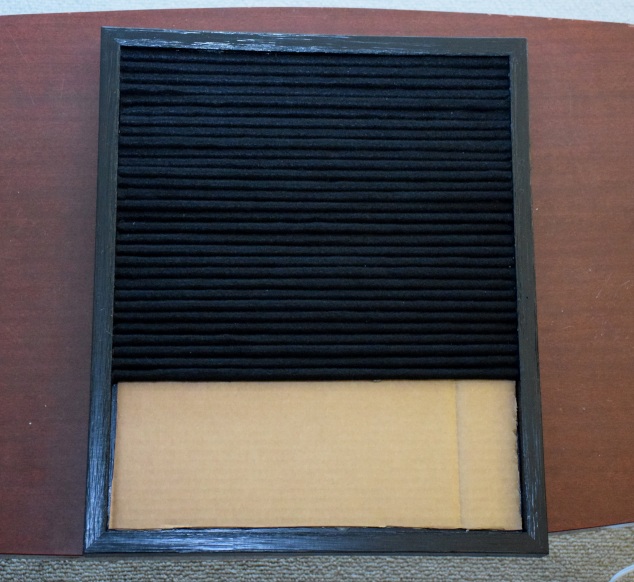
For the frame, I purchased one from Michael’s, from the clearance rack for $10 and just used some cardboard as my backing since it didn’t come with one. **Make sure when you buy your frame that it will be deep enough for your dowels.** I cut the cardboard to size and hot glued it in my frame. If your frame has a back, you can skip this step.
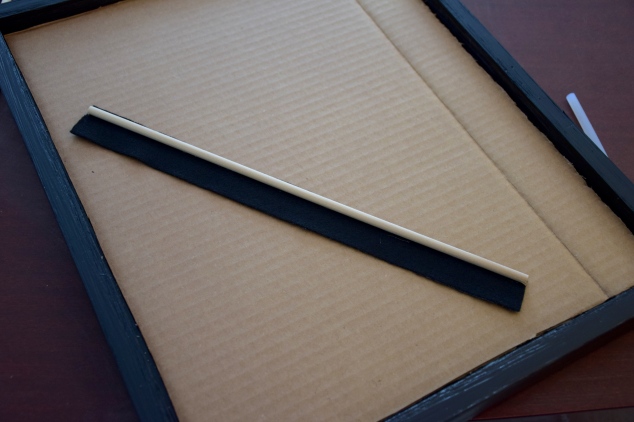
Next I measured and cut out my felt pieces. I made them about 1 1/2″ wide and a little longer than my dowel length, about 11 1/4″.
Once I had all my pieces cut, I started to hot glue them to my dowels. I found the best method for this was to hot glue the length of one side of the felt and then roll the dowel through the glue so that it picks up the felt and keeps things even. Then I hot glued the other side and rolled it in the opposite direction. Doing this kept the felt tightly wrapped.
I repeated this for what felt like a hundred times and them set the felted dowels in the frame to see how they would fit. I didn’t hot glue everything until the end.
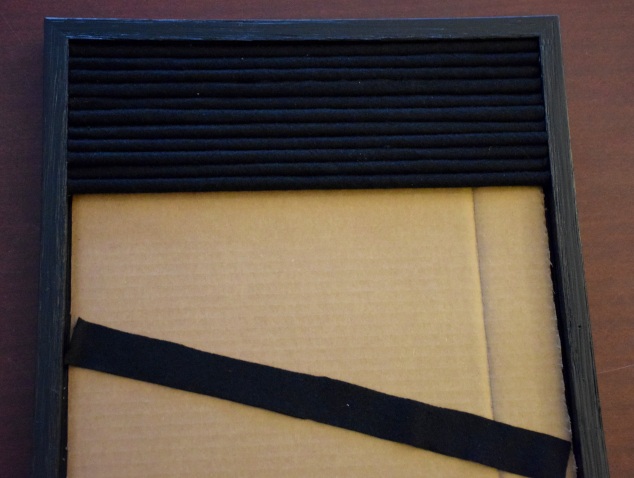
Once I had all my dowels covered I started to hot glue them into the frame. You want to glue them as tightly together as you can. This step is crucial so that your letters for the board will stay on.
I used a lot of glue sticks for this project. The entire bag of 40 to be exact. Luckily they were only like $3 at Michael’s.
Here is a picture of the finished board. I set it up as I awaited my letters to arrive in the mail from Amazon. 🙂
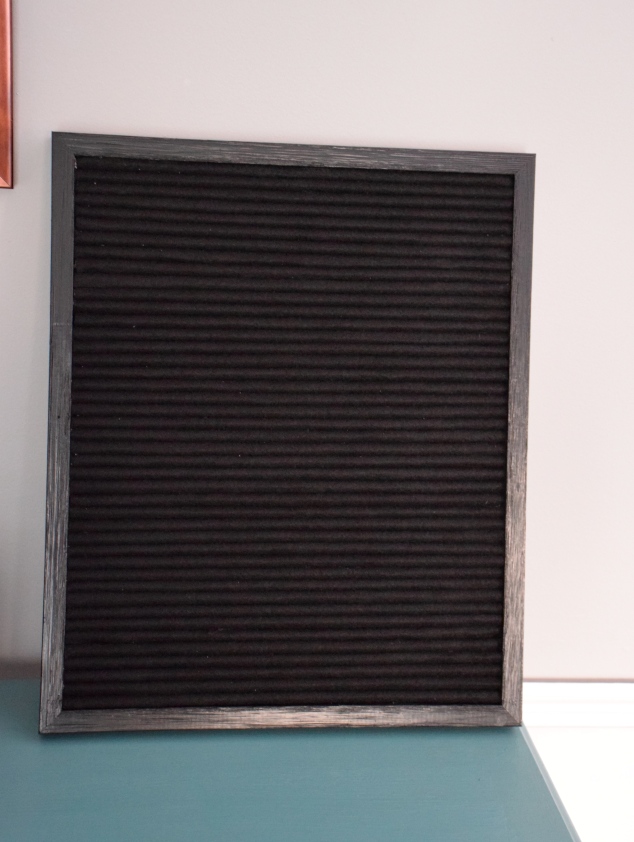
I looked in store for letters but they weren’t available anywhere. So, I did what is becoming a fond pastime of mine…online shopping!
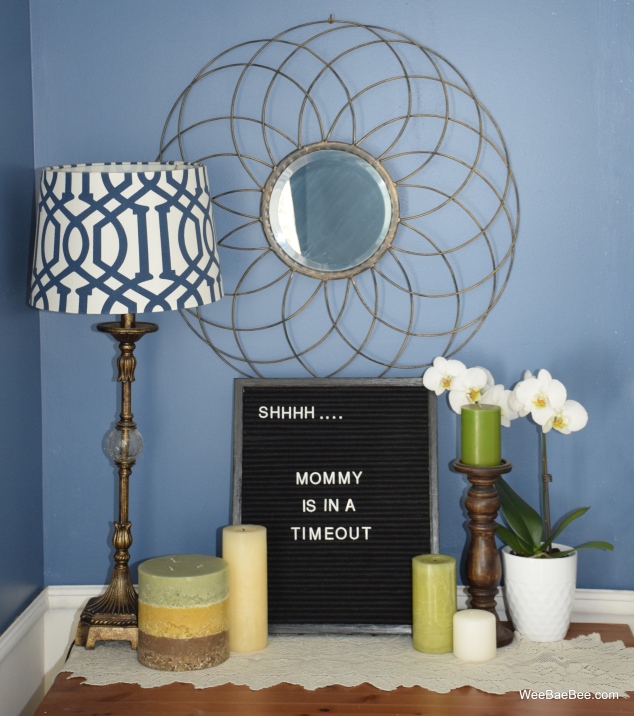
I found Tabbee letters on Amazon.ca for about $20. I thought that was kind of pricey but, thems the breaks kids. Maybe you can find them cheaper.
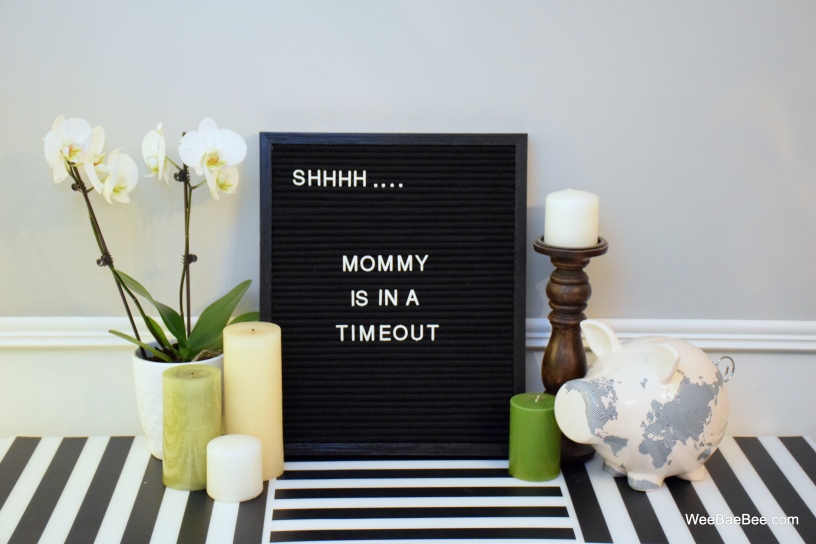
When they arrived, I was a bit of a kid at Christmas. I tore into them at 10PM at night. Yep, that’s when my package arrived. It had been a long day. The baby was fussy, the other two kids were running around and not going to bed, despite many warnings. Finally, the upstairs was quiet when the mailman came to the door and our dog started barking loudly, which of course drew inquisitive little ones back to the top of the stairs to see who it was. I got them back to bed and the dog settled down and this is what I came up with for the board. I thought it very fitting after the night I had had.
Here is what I spent:
- Frame $10
- Felt $2
- Glue sticks $3
- Dowels $14
- Letters $20
Grand Total = $49 Bucks!!
All in all, I love it and it didn’t break the bank. I was able to complete the project for a fraction of what I saw them going for online. It may not be professionally manufactured, but it is made with love and I’m sure my fingertips will grow back after all that hot glue madness! 🙂
Try your own and let me know how it turns out. Happy crafting 🙂
Brynna xx

